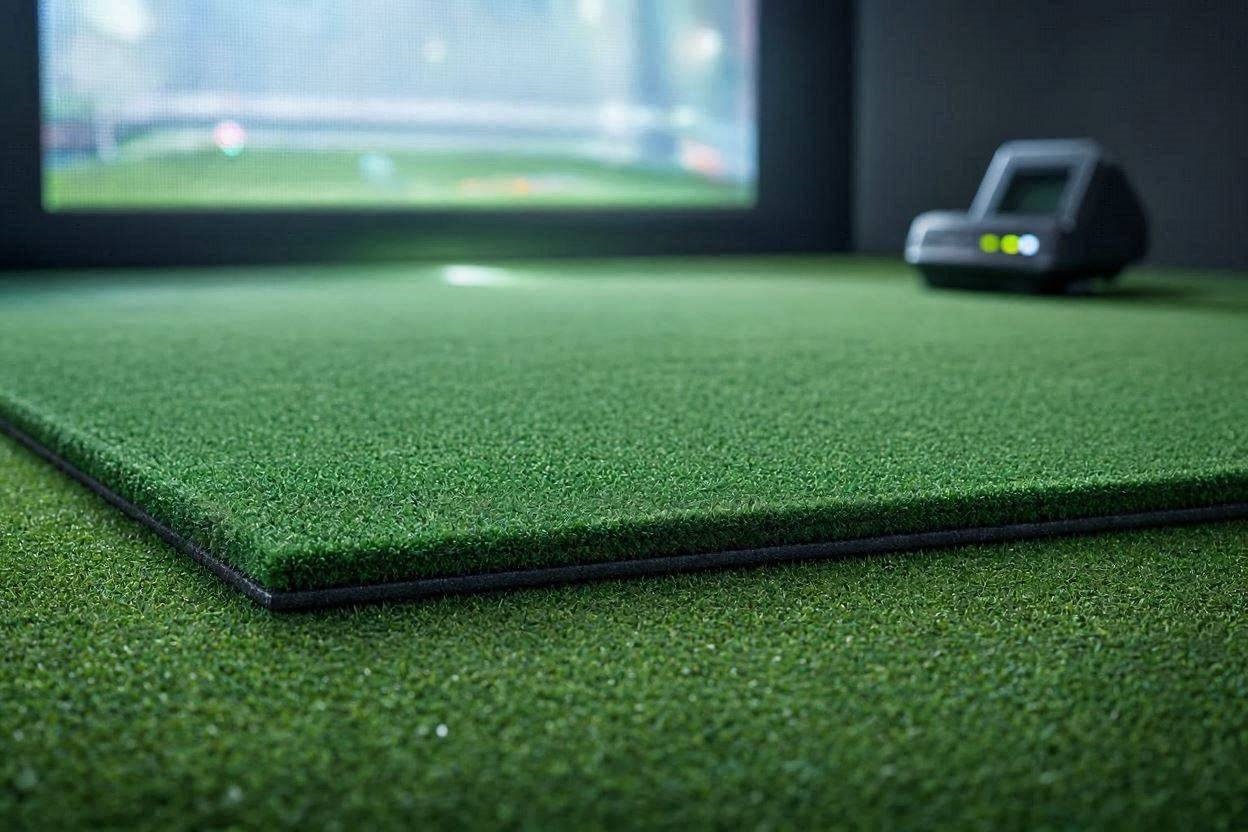
Building a high-end indoor golf simulator requires immense attention to detail, precision launch monitors, and perfectly tensioned impact screens. However, one of the most maddening and technically destructive issues simulator owners face has nothing to do with digital software. It is the physical instability of the hitting floor. If you are struggling to prevent golf mat slippage, you are already compromising your expensive tracking hardware.
When a golfer executes a 115-mph driver swing, massive kinetic ground reaction forces are transferred downward and laterally through the feet. If your premium hitting mat is simply resting on top of smooth putting turf, polished concrete, or plush residential carpet, the kinetic friction coefficient will fail. The mat will slowly creep, rotate, or slide outward. This is not just an annoyance; it is a critical hardware failure. If your mat shifts even half an inch, the physical alignment of floor-mounted launch monitors is instantly broken, resulting in skewed club path data and inaccurate target lines.
In 2026, relying on basic, thin anti-slip rug grippers is completely insufficient for the violence of a modern golf swing. This comprehensive technical guide breaks down the exact biomechanics of turf shift and details seven commercial-grade structural, chemical, and mechanical solutions to permanently prevent golf mat slippage in your hitting bay.
The “Quick Answer” / Key Takeaways Box
- The Tape Protocol: Standard anti-slip pads fail under torque. Upgrading to industrial double-sided acrylic carpet tape applied directly to the subfloor is the most cost-effective stabilization method.
- Industrial Hook-and-Loop: Applying 2-inch wide industrial-strength Velcro strips along the perimeter of the mat firmly locks it to underlying putting turf or low-pile commercial carpet.
- Mechanical Anchoring: For permanent garage builds, driving heavy-duty lag bolts and wide fender washers directly through the mat corners into a wooden subfloor guarantees zero movement.
- Structural Flush-Mounting: The ultimate aesthetic and functional fix is to physically cut a void into your primary putting green turf, allowing the hitting mat to drop in seamlessly flush with the floor.
- Hardware Alignment Risk: Preventing mat movement is mandatory for tracking accuracy. A sliding mat constantly corrupts the target line calibration of photometric launch monitors.
1. The Biomechanics of Torque and Subfloor Physics
To properly execute a strategy to prevent golf mat slippage, you must first understand the intense physical forces acting upon the floor during a golf swing.
A golf swing is a violent, highly rotational athletic movement. At the apex of the downswing and through the impact zone, a golfer uses the ground for leverage, creating immense lateral shear force. The lead foot pushes aggressively forward and outward to clear the hips.
If your 5×5 or 4×5 hitting mat is resting directly on top of a low-friction surface—such as rolled putting turf, smooth epoxy garage flooring, or slick ceramic tiles—the lateral shear force vastly exceeds the static friction holding the mat in place.
The Weight vs. Friction Equation
Many simulator owners mistakenly believe that purchasing a heavier mat will solve the problem. While a 60-pound commercial-grade mat is less likely to slide than a 15-pound cheap foam strip, heavy mats are not immune to rotational torque.
When you consistently hit balls from the exact same central location, your feet apply twisting pressure that slowly rotates the heavy mat off its axis over the course of a practice session. Furthermore, if you place a heavy rubber-backed mat on top of plush household carpet, the soft carpet fibers act like microscopic roller bearings. The mat will continuously “surf” across the room.
To permanently prevent golf mat slippage, you must completely arrest both lateral sliding and rotational twisting through rigid physical or chemical bonding.
2. Chemical Bonding: Industrial Carpet and Seam Tapes
For simulator owners looking for a highly effective, low-profile solution that does not require power tools, industrial-grade adhesives are the first line of defense. Standard rug grippers or cheap rubber shelf liners are designed to stop light foot traffic, not athletic torque. They compress and tear under the weight of a golfer.
To lock the surface down, you must utilize heavy-duty, double-sided carpet seam tape. This tape features aggressive acrylic or synthetic rubber adhesives designed to bond raw rubber backings to concrete, wood, or underlying turf.
The Application Protocol
To successfully prevent golf mat slippage using adhesive tape, surface preparation is absolutely critical. If you apply tape to a dusty garage floor or a dirty mat backing, the adhesive will bond to the dirt, not the floor, and the mat will break loose within a week.
- Clean the Subfloor: Sweep and thoroughly vacuum the floor. If applying to concrete or wood, wipe the area down with a mild solvent like isopropyl alcohol to remove all oils and dust.
- Clean the Mat Backing: Turn your hitting mat over. Use a stiff brush to remove any loose rubber particles or manufacturing mold-release agents from the backing.
- The Matrix Pattern: Do not just run tape around the outside edges. Apply a continuous border of tape along the entire perimeter, and then create a massive “X” pattern from corner to corner across the center of the mat.
- Compression Curing: Remove the protective backing, carefully flip the mat into position, and walk heavily across every square inch of the taped areas. The pressure activates the adhesive bond. Allow it to cure for 12 hours before swinging a club.
[IMAGE PLACEHOLDER: A close up showing a worker applying a thick strip of heavy-duty double sided tape in an X-pattern to the black rubber underside of a golf mat + Alt Text: Applying industrial double-sided tape to prevent golf mat slippage.]
3. High-Tensile Friction: Industrial Velcro Systems
If you are resting your hitting mat directly on top of an existing artificial putting green or a low-pile commercial carpet, chemical adhesives can leave a permanent, sticky residue that ruins the underlying turf if you ever decide to move the setup.
In these environments, utilizing an industrial hook-and-loop (Velcro) system is a brilliant, non-destructive method to prevent golf mat slippage.
Leveraging the Loop Pile
Artificial putting turf is essentially a dense field of looped plastic fibers. This makes it an ideal receiving surface for the “hook” side of a Velcro strip.
Purchase a 15-foot roll of 2-inch wide, industrial-strength Velcro. You only need the abrasive “hook” side of the roll. The back of the Velcro strip will have a heavy-duty adhesive.
Apply this adhesive side directly to the outer perimeter of the underside of your hitting mat. By placing a 2-inch wide border of hooks entirely around the mat, you create thousands of microscopic anchor points. When you drop the hitting mat onto your putting green, the hooks aggressively bite into the soft turf fibers.
This creates a massive friction lock that easily resists the lateral shear force of a driver swing. The primary advantage of this hack is that you can still pull the mat upward with force if you need to reposition it, but it will absolutely not slide laterally during use.
4. Mechanical Fastening: Subfloor Anchoring and Bolts
If you are operating a permanent simulator bay built on top of a wooden subfloor or a custom-built stance platform, chemical tapes and Velcro may still degrade over years of heavy commercial use. For absolute, zero-tolerance immobility, you must physically bolt the mat to the floor.
Mechanical fastening is the most aggressive way to prevent golf mat slippage, and it guarantees that your hitting surface will survive thousands of iron strikes without rotating a single millimeter.
The Washer and Bolt Implementation
You cannot simply drive a standard wood screw through a hitting mat. The soft foam and artificial turf will tear, and the small screw head will pull straight through the backing under pressure.
You must use heavy-duty lag screws paired with wide, metallic fender washers.
- Mark the Corners: Position the mat exactly where you want it relative to your impact screen and launch monitor.
- Separate the Turf: Using a nail or awl, carefully part the green artificial grass fibers at the four corners of the mat. You want to expose the black rubber backing without cutting the green grass blades.
- Drive the Hardware: Place a 1.5-inch wide galvanized fender washer onto a thick lag screw. Drive the screw directly through the rubber backing and deep into the underlying wooden subfloor.
- Counter-Sinking: Ensure you tighten the screw enough so that the metal washer compresses deeply into the foam backing.
- Conceal the Hardware: Brush the green artificial turf fibers back over the sunken washer.
When properly countersunk, the metal hardware becomes completely invisible and physically impossible to strike with a golf club, yet it provides an indestructible mechanical anchor to prevent golf mat slippage.
[VIDEO PLACEHOLDER: A quick time-lapse video demonstrating a builder drilling corner lag bolts with fender washers into a golf mat to secure it to a wooden subfloor.]
5. Structural Integration: The Flush-Mount Cutout
Perhaps the most elegant, highly professional method to prevent golf mat slippage is to remove the mat from the top of the floor entirely.
In high-end commercial fitting studios and luxury home builds, the primary floor is usually covered in a premium artificial putting turf. Stacking a thick, 1.5-inch hitting mat on top of this putting turf creates an immediate tripping hazard and an unnatural visual elevation change.
The ultimate structural hack is to physically cut a void into your putting turf and drop the hitting mat inside, creating a seamless, flush floor.
The Precision Cutout Workflow
- Templating: Lay your hitting mat exactly where you want it on top of the putting turf. Use a bright piece of chalk or masking tape to trace the exact outer perimeter of the hitting mat directly onto the putting turf.
- The Excision: Remove the hitting mat. Using a fresh, razor-sharp utility knife, carefully cut along your traced lines and remove that rectangular section of putting turf entirely.
- Depth Matching: You now have an empty rectangular hole exposing your hard subfloor. Check the depth. If your putting turf is 0.5 inches thick and your hitting mat is 1.5 inches thick, the hitting mat will still sit 1 inch proud of the floor.
- Subfloor Excavation (Optional): To make it perfectly flush, builders will often construct a raised wooden floor utilizing 1-inch thick EVA foam gym tiles or layered OSB board beneath the putting turf. You cut the void through both the putting turf and the foam underlayment.
- The Drop-In: When you drop the hitting mat into the deep cutout, it becomes physically trapped by the surrounding dense floor materials.
Because the mat is now locked inside a rigid, perfectly measured structural pocket, it physically cannot slide in any direction. This method eliminates the need for messy tapes or permanent bolts, while delivering the cleanest, most professional aesthetic possible.
6. The Premium Upgrade: Commercial Interlocking Tray Systems
If you are not willing to drill holes into your floor, cut up your expensive putting turf, or deal with industrial adhesives, there is a commercial-grade hardware solution designed specifically to prevent golf mat slippage.
Top-tier simulator manufacturers have engineered heavy-duty external containment frames. Instead of modifying the mat itself, you drop the mat into a massive, heavily weighted base.
Sourcing Commercial Bases
To execute this premium upgrade, you must source modular tray systems from authorized, high-end indoor golf distributors via professional channels (such as Impact or PartnerStack affiliate networks), avoiding cheap, lightweight generic frames found on standard retail sites.
Systems like the Fiberbuilt Grass Series Studio Mat or the Carl’s Place HotShot Modular Mat rely on a heavy, interlocking rubber or hardened polymer base. You assemble the heavy base frame on your floor like puzzle pieces. The base itself often weighs in excess of 100 pounds.
The actual hitting strip and the stance turf then drop snugly into the recessed channels of this massive frame. Because the entire outer tray system is incredibly heavy and utilizes a high-friction rubberized footprint, the kinetic energy of your swing is absorbed by the sheer mass of the unit. The hitting surface remains locked in its recessed channel, completely solving your slippage issues while maintaining a clean, portable setup that can be disassembled if you ever move houses.
7. Overcoming High-Pile Carpet Environments
The most hostile environment for a golf simulator is a room featuring thick, plush, high-pile residential carpet. If you attempt to place a standard hitting mat on top of thick carpet, absolutely nothing will prevent golf mat slippage.
The long carpet fibers create a shifting, unstable foundation. Double-sided tape will not stick to carpet fluff. Velcro will simply tear the carpet loops and ruin your household flooring. Bolts cannot be securely tightened without crushing the carpet pad.
The Floating Subfloor Matrix
If you are forced to build your simulator over high-pile carpet, you must construct an intermediate floating subfloor matrix to isolate the hitting mat from the carpet fibers.
Purchase a sheet of 3/4-inch heavy OSB plywood or MDF (Medium Density Fiberboard) from a local hardware store. Have it cut to perfectly match the dimensions of your hitting mat (e.g., 4 feet by 5 feet).
- The Carpet Interface: On the underside of the heavy wood board, staple heavy-duty plastic carpet grips (the kind featuring small plastic spikes used under office chairs). These spikes will bite down through the thick carpet pile and lock into the dense carpet pad below, preventing the wooden board from surfing across the room.
- The Mat Interface: On the top, smooth side of the wood board, apply aggressive double-sided industrial carpet tape.
- The Final Assembly: Press your hitting mat firmly onto the taped wooden board.
You have now created a rigid, incredibly heavy, spiked platform. The weight of the 3/4-inch wood combined with the downward spikes neutralizes the shifting nature of the plush carpet, successfully stabilizing your hitting environment without causing permanent damage to your home’s flooring.
[INTERNAL LINK: Check out our 9 Crucial Fixes for Launch Monitor Data Synchronization.]
Preventative Maintenance & Quick-Action Checklist
Securing your floor is just the first step. To ensure your hitting environment remains perfectly locked down and your tracking hardware remains flawlessly aligned over thousands of high-speed impacts, perform this quick-action physical audit every 30 days:
- The Tape Degradation Check: If you utilized double-sided tape, gently pull upward on the four corners of your hitting mat. If the mat lifts easily with a “cracking” sound, the acrylic adhesive has dried out or become contaminated with dust. You must scrape the old tape off, clean the surface with acetone, and reapply fresh tape.
- Velcro Fiber Clearing: If using the hook-and-loop method on putting turf, lift the mat and inspect the Velcro hooks. Over time, they will become choked with broken green plastic turf fibers and dust. Use a stiff wire brush to comb the Velcro hooks clean, restoring their maximum gripping capability.
- Hardware Tightening: For bolted mats, extreme vibration will slowly back the lag screws out of the wooden subfloor. Take a socket wrench and ensure every corner fender washer is still tightly compressed into the rubber backing.
- Launch Monitor Re-Calibration: Even with a highly secured mat, micro-shifts can occur over a season. Once a month, use an alignment stick placed flat on your mat and re-run your launch monitor’s internal target calibration protocol to ensure the radar or camera is perfectly square to your physical hitting zone.
- Subfloor Moisture Audit: If your simulator is in a garage, pull back a corner of the mat to check for concrete sweating or moisture buildup. Trapped moisture will rapidly destroy chemical adhesives and warp wooden subfloors, ruining your stabilization efforts.