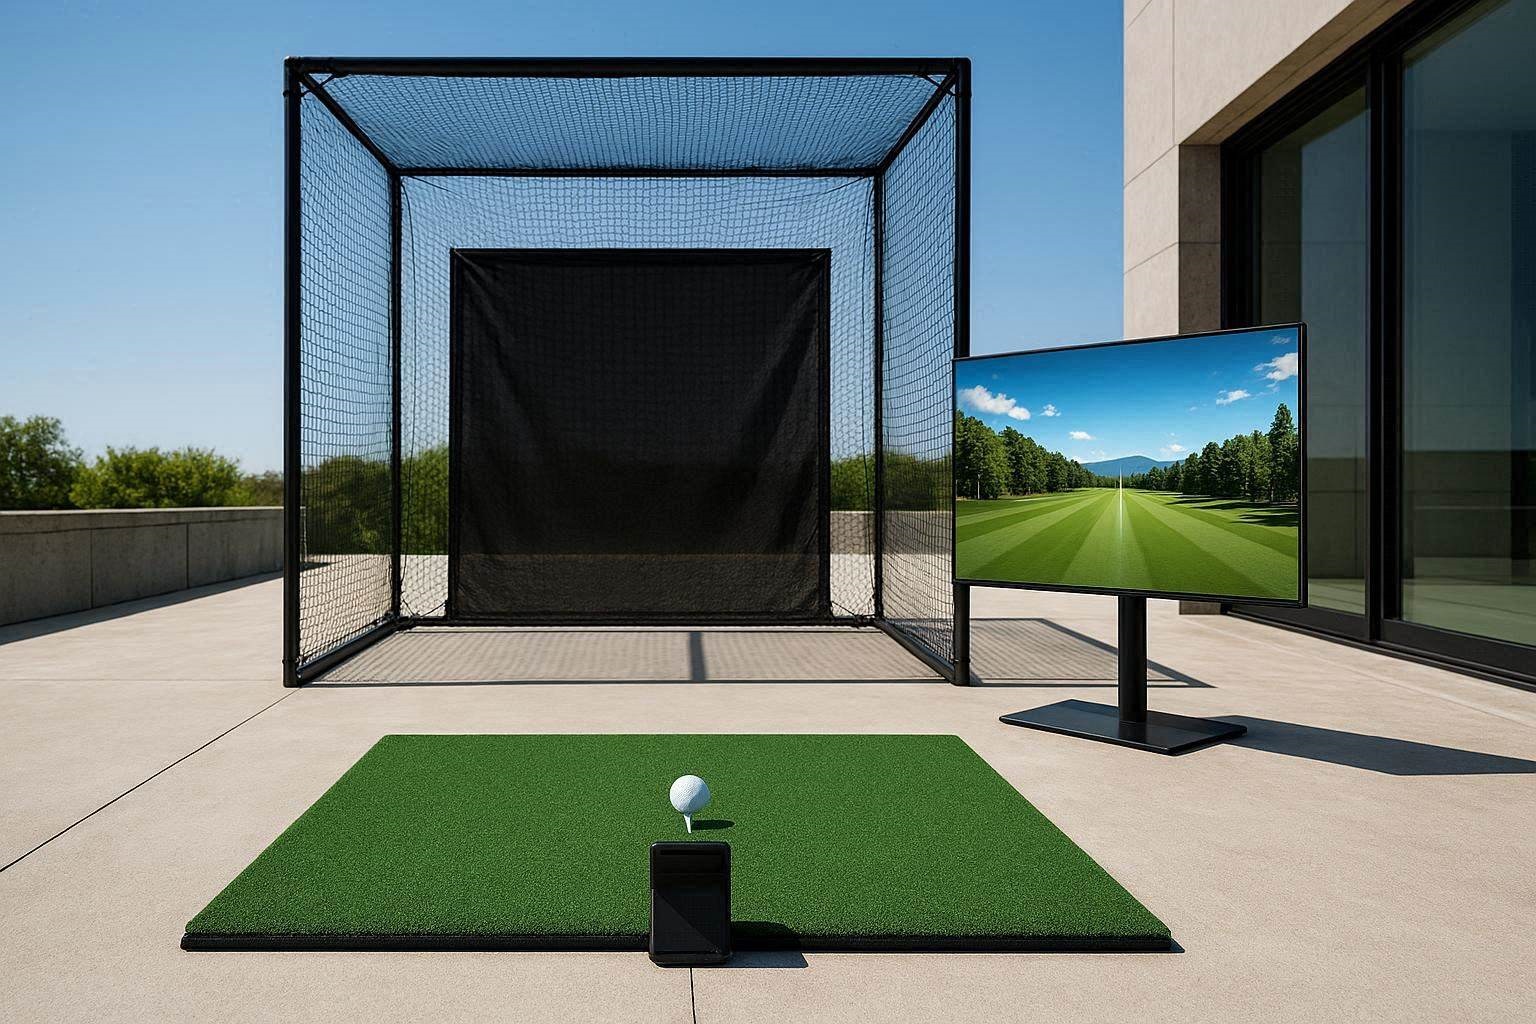
Building a professional-grade training facility in an outdoor environment or an open-air garage bay requires completely abandoning traditional indoor design methodologies. When executing an outdoor golf simulator setup under 2500, amateur builders frequently make catastrophic hardware choices by purchasing indoor-only gear that completely fails under natural ambient light conditions. Building a daylight-accessible golf simulator requires a deep understanding of optical light tracking limitations, radar wave propagation, and weather-resistant structural physics.
In 2026, building a portable, budget-friendly hitting bay no longer requires allocating thousands of dollars toward high-end gaming computers and delicate short-throw projection systems. By utilizing advanced app-driven mobile integration alongside daylight-hardened tracking modules, you can establish an elite practice station that functions flawlessly on a patio, deck, or open yard. This comprehensive technical guide provides an itemized blueprint to maximize your 2500 capital, protecting your physical joint health while locking in tour-level data precision.
The “Quick Answer” / Key Takeaways
- The Sunlight Constraint: Traditional, first-generation camera-based launch monitors are instantly blinded by direct sunlight; building a daylight-accessible bay requires switching exclusively to Doppler radar units or specialized high-shutter outdoor camera arrays.
- Bypassing the Gaming PC: To remain strictly under the 2500 budget cap, you must eliminate the requirement of a dedicated Windows computer and instead cast data directly from an iPad or smartphone to a high-brightness outdoor monitor.
- The Biomechanical Necessity: The hitting mat is the absolute last component where you should cut costs; striking irons onto a thin mat over raw concrete or hard soil will lead to severe joint trauma and false “mat bounce” metrics.
- Radar Spatial Parameters: Doppler radar tracking modules demand an absolute minimum of 16 to 20 feet of total longitudinal depth (7 to 8 feet behind the ball and 8 to 12 feet of ball flight into the net) to calculate accurate spin axis figures.
1. Environmental Optics: Why Daylight Blinds Standard Launch Monitors
The absolute baseline problem when designing an outdoor golf simulator setup under 2500 is managing ambient infrared (IR) radiation. Most entry-level, indoor-oriented photometric launch monitors rely on low-power internal camera sensors paired with an integrated infrared strobe flash. These units track the ball by flashing invisible IR light onto the ball’s cover and measuring the displacement of the dimples across successive high-speed photographic frames.
When you take a standard indoor camera unit outdoors into direct sunlight, the environment floods the tracking zone with a massive wave of natural infrared light. This solar radiation completely washes out the launch monitor’s low-power internal strobes, rendering the cameras entirely blind. The machine experiences an immediate failure mode, resulting in persistent “no-read” errors or wildly inaccurate ball flight metrics.
To successfully execute an outdoor golf simulator setup under 2500, you must deploy daylight-hardened tracking technologies. This leaves you with two distinct paths: Doppler radar arrays or specialized high-shutter outdoor camera units built explicitly to filter out solar noise. Radar units completely circumvent the ambient light dilemma because they track the ball using high-frequency microwave radio signals rather than visible or infrared light wavelengths. The radio waves pass cleanly through sunlight, shadow, and changing weather conditions, delivering absolute tracking consistency from dawn until dusk.
2. Launch Monitor Telemetry: Benchmarking the Under-2000 Options
To maintain a strict 2500 cost threshold while securing premium data, you must evaluate the market’s leading portable tracking units against your specific spatial and environmental boundaries.
The Doppler Radar Standard: FlightScope Mevo (Gen 2)
The FlightScope Mevo Gen 2 stands as one of the most mechanically reliable tracking choices for an outdoor golf simulator setup under 2500. Priced at approximately 1,300, this unit relies entirely on multi-frequency 3D Doppler radar technology. Because it tracks the true, organic flight path of the ball over a short distance, it functions with absolute accuracy in full, unshaded sunlight.
Crucially for budget-conscious builders, the Mevo Gen 2 comes out of the box with a perpetually free, subscription-free software licensing tier. It includes a baseline suite of virtual courses through E6 Connect that run natively on an iPad or iOS device. This entirely eliminates the hidden “software tax” that plagues other ecosystems. The radar architecture requires the unit to sit exactly 7 to 8 feet directly behind the ball, aligning precisely along your target line.
The Specialized Outdoor Camera Option: Square Omni
If your outdoor hitting area is tightly constrained and lacks the long physical depth required for a radar tracking cone, the newly engineered Square Omni represents a massive paradigm shift. Priced near 1,600, the Omni is one of the very few floor-mounted camera units built explicitly with ultra-high-speed global shutters and customized optical filters designed to reject direct sunlight.
The Omni operates on a subscription-free framework, rendering ball data natively onto a connected tablet or an on-unit display screen. Because it sits perpendicular to the golfer at floor level, it completely eliminates the need for 8 feet of empty space behind your stance. This allows you to tuck your hitting cage tightly against an exterior wall or fence structure.
The Low-Cost Baseline: Garmin Approach R10
At a significantly lower entry cost of roughly 600, the Garmin Approach R10 is a highly popular entry point for casual builders. It operates via Doppler radar, meaning its outdoor tracking performance in daylight is exceptionally stable.
However, the R10 introduces a hidden long-term ownership cost that conflicts with a strictly subscription-free preference. To access premium data fields and interface with top-tier simulation software like GSPro, you must budget for an ongoing annual subscription fee of 250. Over a four-year operation window, this software fee adds 1,000 to your initial investment, closing the price gap between the Garmin and the permanently free FlightScope platform.
[IMAGE PLACEHOLDER: A comparative diagram illustrating the spatial footprints and placement vectors of a rear-mounted radar unit versus a side-mounted outdoor camera unit + Alt Text: Comparing radar and camera placement for an outdoor golf simulator setup under 2500]
3. Biomechanical Floor Engineering: Eliminating Joint Trauma and Mat Bounce
When configuring an outdoor golf simulator setup under 2500 on a concrete patio or a hard-packed dirt yard, the hitting mat is the absolute most critical structural interface. Many beginners spend their entire capital allowance on the launch monitor and purchase a cheap, thin, single-layer synthetic grass mat to stand on. This is a severe failure of foresight that leads directly to acute physical injury.
When an iron clubhead impacts a thin mat resting on an unyielding concrete subfloor, the immense kinetic force of the downswing cannot travel downward. Instead, the energy forms a high-frequency shockwave that explodes backward up the golf club shaft. This intense vibration travels directly into the player’s fingers, wrists, and elbows. Within a few weeks of daily practice, this repeated physical stress induces severe medial epicondylitis, universally known as golfer’s elbow, forcing you to cease practicing entirely.
[ Clubhead Strike at 90mph ] ──> [ Thin Mat / Concrete Subfloor ]
                                                │
                                                ▼
[ Rigid Kinetic Energy Reflection ] ──> [ Travels Up Club Shaft ]
                                                │
                                                ▼
                              [ Wrist & Elbow Tendon Trauma (Injury) ]
Furthermore, low-grade mats introduce a massive tracking error known as “mat bounce.” When the club face strikes the turf slightly behind the golf ball (a fat shot), a cheap mat will act like a trampoline, forcing the sole of the club to skip upward into the equator of the ball. Your launch monitor will register an artificially clean strike with inflated ball speeds. You are effectively training your brain to tolerate a flawed, early-casting swing mechanic because the simulator is hiding your fat shots.
To avoid this, you must integrate a thick, high-density hitting surface with a dedicated energy-dissipation base. Premium hitting surfaces utilize a multi-layer composition featuring a heavy-duty, closed-cell foam backing or integrated vertical compression cavities. This thickness ensures that when the leading edge of your iron drives downward past the ball, the backing deforms fluidly to absorb the blow before it can reflect back into your joints, while simultaneously penalizing fat shots to protect your swing data integrity.
[EXTERNAL LINK: Biomechanical research paper tracking peak impact forces and tendon strain across variant synthetic golf turf designs]
4. Enclosure Kinetics and Safety Clearances for a 20-Foot Space
Containing a golf ball traveling at velocities exceeding 140 miles per hour in an outdoor environment requires a highly durable containment infrastructure. While indoor builders use full enclosure cages with padded side walls, an outdoor or garage-adjacent bay can leverage specialized, retractable curtain net systems to save massive amounts of space and budget.
If your outdoor space features a longitudinal depth of roughly 20 feet, a radar-based launch monitor fits the space perfectly. You will allocate the first 8 feet of depth behind the tee box for your launch monitor placement. The ball itself will rest on the hitting mat, leaving a remaining 12 feet of forward space before the ball meets the impact netting.
├──────── 8 Feet ────────┼────────────── 12 Feet ──────────────┤
[ Launch Monitor ] ──> [ Tee Mat ] ──────────────────────> [ Impact Net ]
Instead of buying a flimsy pop-up tent net with fiberglass poles that will permanently bow or snap under continuous exposure to UV rays and wind, you should build an industrial-grade hanging net system. Using heavy-duty galvanized steel conduit pipe (commonly found as EMT piping at local hardware outlets), you can construct a simple, rigid 10×10-foot overhead frame.
From this top rail, suspend an archery-grade, high-denier impact net. The net must be hung loosely, allowing the material to billow naturally backward upon ball impact. This loose suspension is a critical safety mechanic: because the net is free to move, it absorbs the kinetic energy of the golf ball through material displacement, dropping the ball dead to the ground with zero dangerous rebound or “snap-back” toward the golfer. Ensure that the frame is positioned at least 18 inches away from any solid brick walls or fences to prevent the billowing net from slapping the hard surface behind it.
5. The Computing and Display Pipeline: Eliminating the Gaming PC
To successfully execute an outdoor golf simulator setup under 2500, you must eliminate the requirement of a dedicated, high-end Windows gaming computer. A PC capable of rendering modern simulation software in 4K resolution requires a significant capital investment, completely destroying your budget cap before you ever purchase a net or mat.
The modern solution for an entry-level build is leveraging the processing power of a device you likely already own: a modern Apple iPad or a premium smartphone. Launch monitors like the FlightScope Mevo Gen 2 and the Garmin R10 feature native, fully optimized mobile applications that handle all internal vector calculations directly on the mobile chip.
Because you are hitting outside in natural daylight, a standard projector is entirely useless. The ambient sunlight will completely wash out the projection lamp, leaving you with an unreadable, faint grey image on your impact screen. Therefore, you must route your visual display to a physical monitor or television screen positioned adjacent to your hitting bay.
[ Launch Monitor ] ──( Bluetooth LE )──> [ iPad Pro / Mobile App ]
                                                 │
                                           ( HDMI 2.1 Hub )
                                                 │
                                                 ▼
                                    [ 55" High-Brightness TV ]
Secure a low-cost, high-brightness 50-inch or 55-inch flat-screen television and mount it on a mobile rolling cart or secure it to a nearby wall safely to the side of your swing plane. To establish a zero-latency data bridge, avoid wireless casting protocols like AirPlay, which are prone to severe lag and packet drops over outdoor distances.
Instead, run a hardwired digital pipeline. Connect a multi-port USB-C hub directly into your iPad, and run a high-speed HDMI 2.1 cable from the hub straight to the television’s input port. This hardwired connection ensures that the exact millisecond your launch monitor calculates your shot trajectory, the ball flight is rendered smoothly on the large screen with zero frame drops or wireless compression artifacts.
6. Itemized Cost Allocation Blueprints for the 2500 Budget Cap
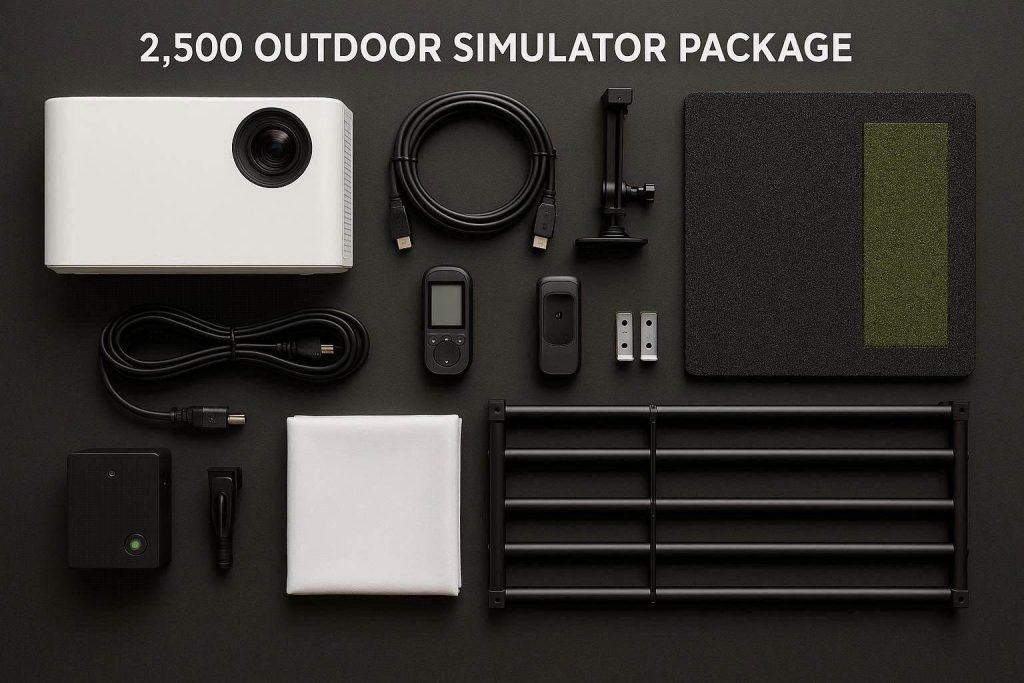
To prove that a high-performance, daylight-stable system can be achieved within your exact financial target, let us look at the precise material cost breakdown for a subscription-free outdoor radar configuration.
| Component Classification | Specific Hardware Selection | Real-World Cost Allocation |
| Launch Monitor Tracking Core | FlightScope Mevo (Gen 2) – Includes 8 E6 Courses | $1,300.00 |
| Biomechanical Hitting Surface | Real Feel Country Club Elite (5′ x 3′ Costco Edition) | $300.00 |
| Ballistic Impact Containment | Heavy-Duty 10′ x 10′ Archery-Grade Impact Net | $100.00 |
| Structural Frame Assembly | Galvanized EMT Conduit Piping & Corner Fitting Couplers | $150.00 |
| Visual Display Infrastructure | 55″ High-Brightness Outdoor-Adjacent LED Television | $350.00 |
| Data Pipeline Cable Bridge | USB-C Digital AV Hub + 25ft Braided HDMI 2.1 Cable | $50.00 |
| Hardware Mobility Cart | Heavy-Duty Rolling TV Stand with Utility Component Shelf | $100.00 |
| Gross Setup Capital | Complete Operational System Portfolio | $2,350.00 |
By following this exact hardware blueprint, you land comfortably under your 2,500 maximum budget threshold. You are left with a cash reserve of 150 to account for local tax adjustments or basic structural hardware extensions. More importantly, because you selected a tracking unit with a built-in, un-gated app ecosystem, your ongoing annual maintenance cost is exactly zero dollars. You own the hardware, you own the software, and you can practice indefinitely without a recurring monthly statement.
7. The Permanent Upgrade Pathway: Sourcing Elite Bay Extensions
Starting with a high-value, net-and-monitor configurations allows you to begin dialing in your yardages quickly, but as your technique sharpens and your dedication to the sport scales, you will eventually want to upgrade your temporary bay into a permanent, commercial-grade outdoor enclosure.
When you cross that threshold, you must abandon temporary DIY pipe frameworks and source your architectural components from professional indoor golf engineers. Flimsy home-center netting will eventually degrade under continuous exposure to extreme UV rays and moisture, leading to dangerous structural failure points. We strongly advise planning your long-term upgrade path through premium, verified distribution hubs such as The Indoor Golf Shop or Carl’s Place (accessible via elite performance affiliate networks like ShareASale or PartnerStack).
Carl’s Place specializes in providing customized DIY Enclosure Kits engineered from black ballistic nylon walls that are treated explicitly to resist UV fading and water penetration. Their triple-layer polyester impact screens are tightly woven to withstand ball speeds exceeding 180 miles per hour completely silently, providing an exceptional, high-contrast canvas for when you eventually transition your tech indoors or into a sheltered patio space. Sourcing your long-term structural framing through these authorized commercial networks ensures your setup remains completely error-free and structurally sound for decades.
7 Technical Specs for the Best Golf Simulator Hitting Mats in 2026: Injury Prevention Guide
Preventative Weatherproofing and Maintenance Quick-Action Checklist
Operating sensitive digital launch monitors and high-density synthetic turf in an outdoor or garage environment requires strict preventative care to maximize the lifespan of your investments.
- The 30-Day UV Protection Turn: Synthetic nylon turf fibers (like those on your Country Club Elite mat) are highly durable, but constant exposure to direct daylight will gradually bake the underlying polyurethane foam backing, causing it to become brittle and crack. When your simulator is not actively in use, never leave the mat exposed to raw sunlight. Roll the mat up and store it inside a shaded garage locker, or purchase a heavy-duty UV-rated waterproof tarp to secure completely over the hitting bay frame.
- Radar Lens De-Ionization: Doppler radar units track the ball by reading microscopic changes in electromagnetic wave returns. Static electricity generated by hitting synthetic golf balls can cause micro-fine plastic dust from your mat to cling directly to the radar’s front faceplate. This dust layer creates tiny signal deflections that look like data lag or sudden dropped shots in your app. Wipe the front faceplate of your launch monitor down with an anti-static electronic wipe before every single practice session to guarantee absolute radar clarity.