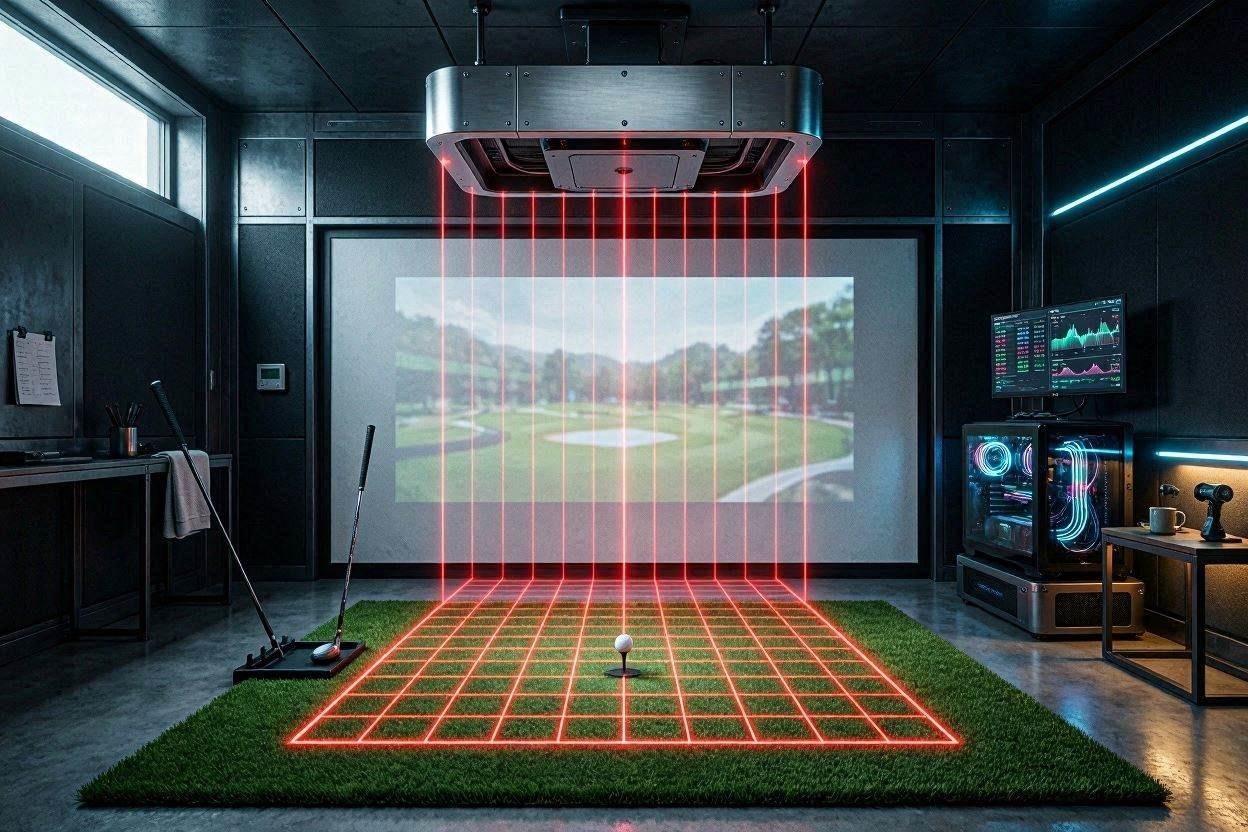
When transitioning from a basic floor-based unit to a professional-grade overhead system, the physical and digital configurations become exponentially more complex. Mastering your AccuGolf Hawkeye launch monitor setup is the absolute difference between experiencing seamless, 0.2-second instant ball flight and fighting through hours of frustrating network timeouts. In 2026, the Hawkeye has solidified its position as a high-performance, AI-driven optical tracking powerhouse, but its heavy reliance on dual-LAN architecture and specific GPU hardware requires a rigorous, technically flawless installation protocol.
If you have just unboxed your aluminum steel sensor box and are staring at the provided dual-port LAN card and 50-foot CAT-6 cables, you must follow a strict sequence of operations. This comprehensive technical manual will guide you through the exact hardware mounting procedures, the required Nvidia graphics configurations, and the GSPro software bridging protocols needed to achieve tour-level simulation accuracy.
The “Quick Answer” / Key Takeaways
- The Network Mandate: A successful AccuGolf Hawkeye launch monitor setup requires installing the included Dual-Port LAN PCIe card into your PC to handle the massive data flow from the 1000+ FPS cameras without bottlenecking your internet connection.
- Strict GPU Requirements: The Hawkeye’s AI physics engine is exclusively compatible with Nvidia GPUs. Furthermore, the manufacturer explicitly warns against using Nvidia 30-Series cards; you must utilize an RTX 4060, 4070, or higher to prevent fatal frame drops.
- Spatial Constraints: To safely accommodate the optical tracking volume, your simulator room must have a minimum width of 12 feet, a depth of 16 to 17 feet, and a ceiling height of at least 9 feet.
- GSPro Integration: You must properly route the AG Desktop Settings to your specific GSPro executable directory to ensure the proprietary 0.2-second latency data handshake functions correctly.
1. Defining the Spatial Architecture and Sensor Mounting
The foundational step of your AccuGolf Hawkeye launch monitor setup involves strict adherence to the manufacturer’s spatial geometry. Unlike floor-mounted radar units that sit behind the player, an overhead photometric system must establish a flawless line of sight from the ceiling down to the primary hitting zone.
The Hawkeye system utilizes a highly sensitive Dual-Firefly camera system. To ensure these cameras can capture the full width of a driver swing and the precise launch angle of a 60-degree wedge, your room must meet specific minimums. For a standard right-handed or left-handed setup, you need a minimum of 12 feet in width, 16 feet in depth, and exactly 9 feet of ceiling height. If you are building an ambidextrous simulator bay to accommodate both left and right-handed players simultaneously without moving the hitting mat, your room width must expand to 16 or 17 feet.
Mounting the physical aluminum steel sensor box requires precision. You must use the provided heavy-duty Ceiling Bracket Mount. The unit weighs approximately 20 pounds, meaning you cannot simply anchor it into standard drywall. You must locate a structural ceiling joist or install a reinforced wooden cross-brace above the drywall. Once the bracket is perfectly leveled and secured, lock the Hawkeye unit into place. Do not permanently tighten the mounting bolts until you have run the primary RayCalibrator software to ensure the unit’s pitch and roll are flawlessly aligned with the center of your strike zone.
[IMAGE PLACEHOLDER: A technical blueprint showing the overhead geometric tracking angles and spatial dimensions required for an overhead launch monitor + Alt text: Room dimension blueprint for the AccuGolf Hawkeye launch monitor setup]
2. Unpacking the Dual-Firefly Optical Specifications
To understand why the network and PC requirements are so demanding during an AccuGolf Hawkeye launch monitor setup, you must understand the raw data output of the hardware. The Hawkeye does not guess ball flight; it measures it directly using an immense amount of high-speed visual data.
The system features two ultra-high-speed Firefly cameras equipped with 1/2.3″ 12MP image sensors. These sensors are capable of achieving a maximum still resolution of 3840×3040 pixels. During a swing, these cameras operate at an astonishing 1000+ frames per second (FPS). This allows the unit to capture the exact deformation of the golf ball at impact, the precise spin axis tilt, and the exact path of the clubhead grooves.
Furthermore, the hardware includes zoomable 3.6-10mm lenses with manual focus and aperture controls. This optical power allows the system to excel at short-game tracking. While older radar systems often struggle to pick up delicate chips and bunker shots, the Hawkeye’s multi-angle capture provides comprehensive short-game accuracy. Because it physically sees the club slide under the ball, it captures the spin rate and launch angle of a low-speed flop shot perfectly. All of this high-definition imagery is instantly fed into an onboard AI-based calculation algorithm.
3. The Dual-LAN Network Configuration Protocol
The most critical technical hurdle in any AccuGolf Hawkeye launch monitor setup is the networking infrastructure. The sheer volume of data generated by two 1000+ FPS cameras attempting to render shot data in 0.2 seconds cannot be transmitted over standard Wi-Fi or a single basic motherboard ethernet port.
AccuGolf specifically includes a dedicated Dual-Port LAN PCIe card in the box. You must power down your PC, open the chassis, and seat this card into an available PCIe x4 or x16 slot on your motherboard. This physical hardware upgrade isolates the launch monitor’s data traffic.
Once the card is installed, you will use the two provided 50-foot CAT-6 ethernet cables. These high-speed cables run directly from the two ports on the Hawkeye ceiling unit into the two new ports on your dedicated LAN card. This creates a closed-loop, hardwired intranet between the cameras and the PC processor. This exact configuration is what allows the Hawkeye to claim an industry-leading 0.2-second data latency. Your standard motherboard ethernet port or Wi-Fi card remains completely separate, dedicated solely to keeping your PC connected to the internet for software license verification and online multiplayer GSPro matches.
[EXTERNAL LINK: Technical guide on how PCIe network cards manage dedicated data bandwidth for video processing]
4. Navigating the Strict PC Hardware Requirements
You cannot run this system on a standard office laptop. The AccuGolf Hawkeye launch monitor setup is heavily reliant on brute-force computational power to decode its AI physics engine in real-time.
The most rigid requirement dictates that the system is exclusively compatible with Nvidia graphics processing units (GPUs). AMD Radeon cards are completely unsupported and will cause fatal software crashes upon boot. Furthermore, the manufacturer strongly warns against using the Nvidia RTX 30-Series architecture (such as the 3060, 3070, or 3080). While powerful, these older cards experience micro-stutters when handling the specific AI spin-calculation workloads of the Hawkeye software.
To ensure absolute stability, you must install an Nvidia RTX 4060, 4070, or higher. The 40-Series cards feature advanced Tensor cores that process the machine learning algorithm seamlessly. On the processor side, an Intel Core i7 or an AMD Ryzen 7 (or higher) is mandatory. Early firmware iterations of the Hawkeye software historically struggled with Ryzen thread-scheduling, but the latest 2026 updates have patched these timing errors. Finally, ensure your system has a minimum of 16 GB of RAM and a fast 512 GB NVMe Solid State Drive. Installing the software on an old mechanical hard drive will bottleneck the image processing pipeline, causing the screen to freeze precisely when the club strikes the ball.
5. Software Bridging: AG Settings and GSPro Integration
Once the physical hardware and PC components are locked in, you must configure the software bridge. Most users executing an AccuGolf Hawkeye launch monitor setup choose GSPro as their primary simulation engine due to its massive library of community-built courses and hyper-realistic physics.
When you install the proprietary AccuGolf (AG) software, you will open the AG Settings application on your Windows desktop. This is the command center for data routing. Inside the menu, you will see directory path options for both E6 Connect and GSPro.
You must manually click the button beside the GSPro Directory field and navigate your file explorer to locate the exact GSPro setup file (typically found at C:\GSPro\GSProLauncher.exe). By explicitly linking this directory, you are telling the Hawkeye’s AI engine exactly where to inject the telemetry data (ball speed, club path, spin axis) the millisecond a shot is registered. After setting the path, save the configuration and exit. From this point forward, the AG software will run silently in the background, acting as an invisible high-speed bridge between the ceiling cameras and your virtual golf course.
6. The Calibration Matrix: RayCalibrator and Spotlight Tuning
A photometric launch monitor is useless if its digital horizon does not perfectly match the physical floor of your garage. The final technical phase of your AccuGolf Hawkeye launch monitor setup is running the RayCalibrator tool.
Included in the package is a physical calibration board and a dedicated Spotlight. The Spotlight must be mounted to optimize lighting conditions directly over the hitting zone. The dual cameras rely heavily on infrared LED components, but proper ambient lighting drastically increases the contrast of the ball’s dimples, allowing the AI to calculate backspin and sidespin with zero guesswork.
Place the calibration board flat on your primary hitting mat. Boot up the RayCalibrator software on your PC. The software will project a digital grid onto the camera feeds. You will use the software toggles to virtually adjust the pitch, roll, and yaw of the lenses until the digital grid aligns perfectly with the physical markers on the calibration board.
If this step is skipped or rushed, you will immediately notice data anomalies. For example, some users report “false smash factor” readings—where the software claims a 7-iron carried 230 yards. This error almost exclusively occurs because the cameras are tilted slightly downward, causing the algorithm to miscalculate the vertical travel distance of the ball across the pixel matrix. A perfectly leveled RayCalibrator profile eliminates these physics glitches entirely.
[INTERNAL LINK: Ultimate Guide to Diagnosing Simulator Smash Factor and Ball Speed Discrepancies]
7. The Premium Simulator Upgrade (Affiliate Engine)
Successfully completing your AccuGolf Hawkeye launch monitor setup guarantees you have flawless, tour-level data. However, transmitting that data into a stunning, immersive environment requires professional-grade support hardware. High-speed cameras and RTX 40-Series GPUs are severely bottlenecked if you are projecting onto a cheap, wrinkled bedsheet or hitting off thin, joint-destroying range turf.
To truly capitalize on the Hawkeye’s 4K potential and 0.2-second latency, you must upgrade the physical bay. We highly recommend sourcing your custom enclosure and impact screen directly through Carl’s Place (accessible via premium networks like ShareASale). Their Premium Impact Screens feature a tight, multi-layer woven polyester that completely eliminates image bleed-through and absorbs ball strikes with minimal bounce-back.
Furthermore, to protect your wrists from the thousands of swings you will take over the winter, you must ditch standard foam mats. Upgrade to a Fiberbuilt Grass Series Studio Mat or a TrueStrike Gel Section hitting strip. These premium surfaces (often available through authorized dealers on PartnerStack or Impact) feature specialized low-friction bristle technology and silicone gel subsurfaces that perfectly replicate the kinetic drag of taking a real fairway divot. By combining the Hawkeye’s overhead precision with a premium strike surface and a Carl’s Place enclosure, you transform a basic garage setup into a commercial-grade training facility.
Preventative Maintenance & Operational Daily Checklist
To ensure your AccuGolf Hawkeye launch monitor setup remains perfectly accurate throughout its lifespan, you must implement a strict operational routine. Overhead systems are out of reach, meaning they are often ignored until a fatal error occurs.
The Weekly Optical Audit: Garages and basements accumulate massive amounts of dust, particularly fine synthetic fibers kicked up from hitting mats. Over time, a microscopic layer of dust will coat the Hawkeye’s external lens glass, causing the infrared flashes to refract and creating sudden “no-read” errors.
- Once a week, use a stepladder to inspect the aluminum sensor box.
- Do not use liquid glass cleaners, as moisture can damage the sensitive LED rings.
- Use a pressurized can of compressed air to blast away surface dust, followed immediately by a gentle wipe using a dry, ultra-fine microfiber optical cloth.
The Ambient Light Lock-Down: Before booting up the AG settings, ensure your room lighting is consistent. If you installed your setup in a garage with windows, the shifting angle of the afternoon sun can throw high-intensity UV rays directly onto your hitting mat. This washes out the Hawkeye’s internal spotlight and confuses the 1000 FPS cameras. Install blackout curtains on all exterior windows to guarantee the cameras operate in a perfectly controlled lighting environment, ensuring your spin axis calculations remain flawless 24/7.